18 April 2024
Written by Barbara Pleasant
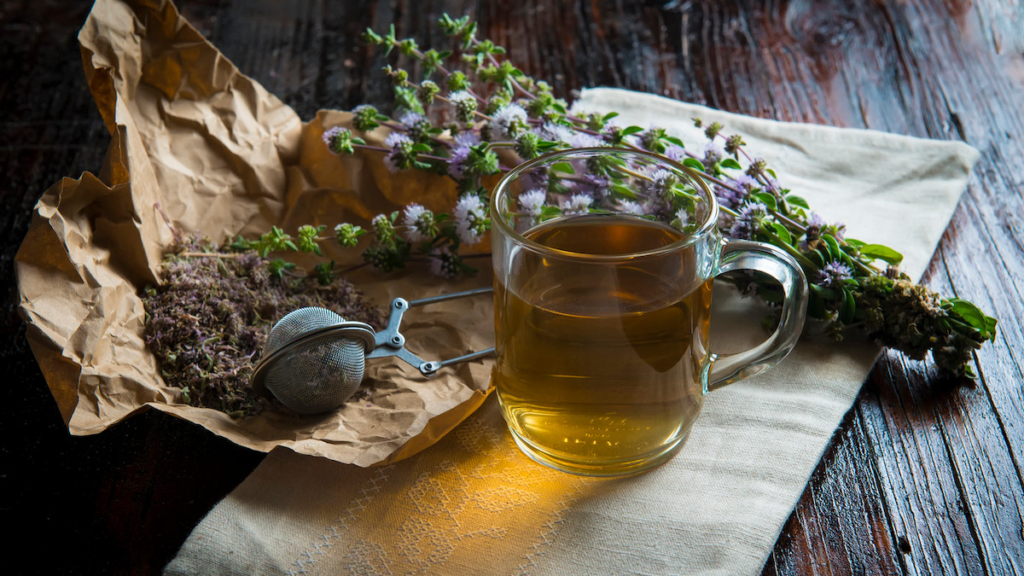
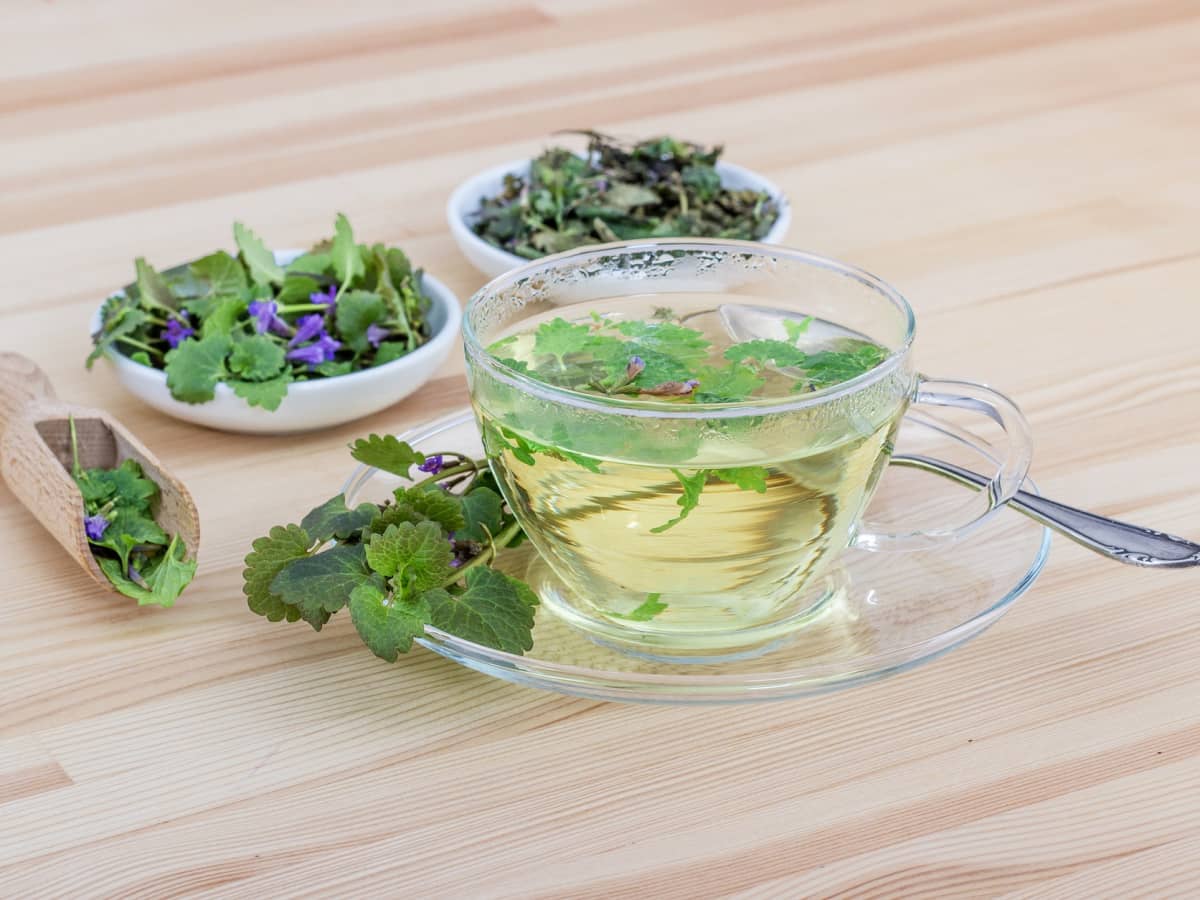
Drying herbs for tea is a great way to capture the vibrant flavors and fragrances of your garden, allowing you to enjoy them year-round. Whether it’s the refreshing taste of mint, the sweetness of stevia, or the fragrant notes of holy basil, many garden herbs reach their peak flavor when dried and brewed into tea.
Dried herbs retain much of their nutritional content and essential oils, offering a concentrated version of the fresh plant. Garden-grown tea herbs are rich in vitamins, minerals, and a variety of natural compounds that support health—all essentially free from your own backyard.
Herbs to Dry for Tea
I dry my tea herbs throughout the growing season, from spring to fall, as they do not all reach their prime at once. Hardy perennials like stinging nettle, catnip, and lemon balm start the season, followed by chamomile and mint. Later in the summer, holy basil and stevia join the mix. I also experiment with herbs like raspberry leaves, monarda, agastache (anise hyssop), and rugosa roses. Each year is unique, which adds to the joy of growing and drying these herbs.
Harvesting Tea Herbs
Tea herbs are best harvested when they’re fully leafed out and beginning to produce buds or flowers. While flowers are important in some herbs—like chamomile and holy basil—others like mint or lavender also benefit from their blooms in tea blends. Regular harvesting encourages new growth, which is essential for herbs that respond to trimming.

Ideally, herbs should be harvested after a rain, which cleans and plumps the leaves. If it’s been dry, water your plants the day before harvesting, making sure to spray the leaves. The best time to harvest is late morning, after the dew has dried and the leaves are warmed by the sun. Before drying, rinse herbs in cool water to remove dirt or pests, and gently shake them dry.
3 Methods for Drying Tea Herbs
There are several ways to dry your tea herbs, each with its own benefits and drawbacks.
1. Air-Drying Herbs
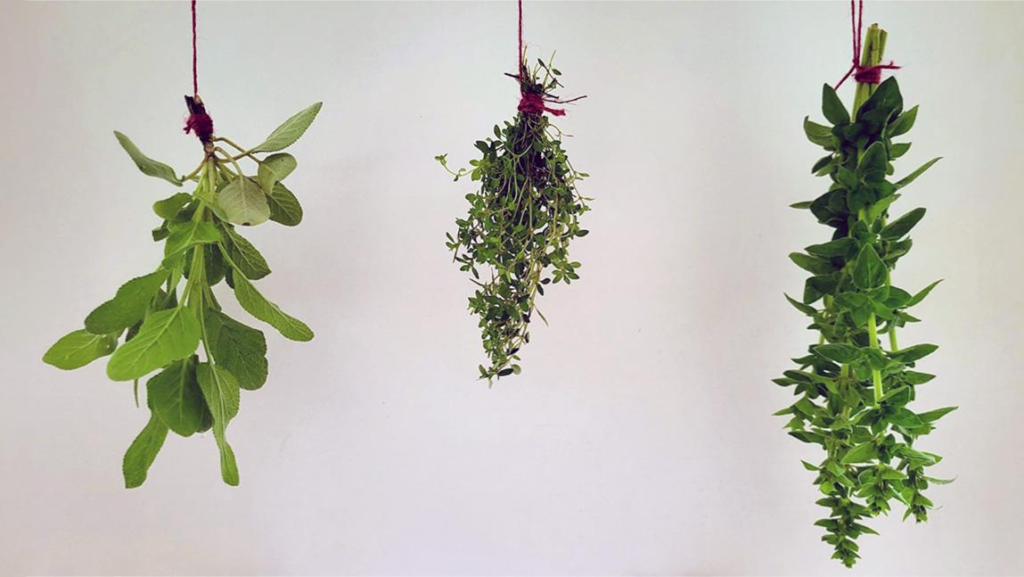
Air-drying involves hanging small bunches of herbs, but this method isn’t always the best for tea herbs. It can attract pests, and exposure to light may degrade the flavor and nutrients of the herbs. However, if done properly in a shady, well-ventilated area, air-drying can work well. When I have a lot of herbs, I often begin by air-drying them on a mesh shelf before finishing them in a dehydrator.

2. Using a Dehydrator
A dehydrator set at a low temperature (below 110°F or 43°C) is an efficient way to dry large batches of tea herbs. You can even leave the herbs on their stems while they dry. After a few hours, the leaves will be dry and can be easily removed from the stems for storage.
3. Drying Herbs in a Microwave
For small batches, the microwave offers a quick and fun way to dry herbs. Start by placing herbs in a single layer on a paper towel-covered plate, and cover them with another paper towel. Microwave on high for 45 seconds, then check the herbs. If they’re not yet dry, repeat the process for 30-second intervals. Once the leaves are crisp, you can finish drying them in a low-temperature oven for about an hour to ensure they are completely dry.
Storing Dried Herbs
To preserve your dried tea herbs, store them in airtight containers in a cool, dark place. Glass jars or coffee cans with tight-fitting lids work well. Keep them in a dark cupboard, as exposure to light can cause herbs to lose their color and aroma. Only crumble the herbs just before brewing to preserve their potent flavors. Whole or lightly crushed leaves retain more essential oils than finely ground herbs.
Drying your own tea herbs is a rewarding way to savor the flavors of your garden throughout the year. By using the right drying method and properly storing your herbs, you can enjoy fresh, homemade herbal tea whenever you like.
