By Georgia Lynn, Contributing Writer
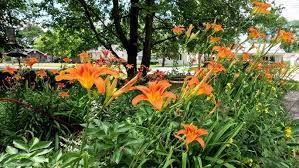
Daylilies (Hemerocallis) are the crown jewels of any garden, offering effortless beauty and vibrant blooms throughout the summer. Beloved by both novice and seasoned gardeners, these hardy perennials come in a dazzling array of colors and patterns, transforming ordinary landscapes into visual masterpieces. If you’ve ever admired your neighbor’s lush daylily patch, this comprehensive guide will equip you to grow the most dazzling daylilies on your block.
Step 1: Choosing the Perfect Daylilies
1. Explore Varieties:
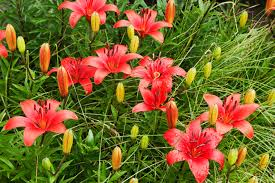
Daylilies come in countless sizes, shapes, and bloom times. Select varieties that enhance your garden’s palette. Consider bloom patterns (single, double, or spider-shaped) and color combinations to create a stunning display.
2. Buy Quality Plants:
Always purchase from reputable nurseries. Look for plants with healthy, pest-free foliage and robust root systems.
3. Plan for Season-Long Blooms:
Combine early, mid-season, and late-blooming daylilies to ensure a vibrant garden from spring through fall.
Step 2: Planting Daylilies Like a Pro
1. Find the Right Spot:
Choose a location with at least six hours of sunlight daily. Daylilies tolerate partial shade, but full sun yields more blooms.
2. Prepare the Soil:
Ensure the soil is rich and well-draining. Mix in organic matter like compost or aged manure for optimal growth.
3. Plant Properly:
Dig a hole wide enough to spread the roots comfortably. Place the crown (where roots and leaves meet) about one inch below the soil surface.
4. Water Generously:
After planting, water thoroughly to settle the soil and encourage root establishment.
Step 3: Essential Daylily Care
1. Regular Watering:
Daylilies thrive with consistent moisture, especially during the growing season. Water early in the morning to reduce disease risk.
2. Mulching:
A 2–3 inch layer of organic mulch conserves soil moisture, regulates temperature, and prevents weed growth.
3. Fertilizing:
Feed with a balanced fertilizer in early spring to boost blooms and healthy foliage.
4. Deadheading:
Remove spent flowers to encourage continuous blooming and prevent energy-draining seed production.
Step 4: Dividing and Multiplying
1. Know When to Divide:
Crowded daylilies or reduced blooming indicate it’s time to divide, typically every 3–5 years.
2. Divide at the Right Time:
Divide in early spring or late summer after flowering ends.
3. Replant Quickly:
Separate clumps into smaller sections with healthy roots and leaves, then replant promptly using the same planting method.
Step 5: Troubleshooting Common Issues
1. Pest Management:
Check regularly for aphids, thrips, or spider mites. Use insecticidal soap if needed.
2. Disease Prevention:
Good air circulation and avoiding overhead watering help reduce fungal issues like rust or leaf streak.
3. Wildlife Protection:
While daylilies are deer and rabbit resistant, extra measures may be necessary in high-pressure areas.
By following these simple steps, you’ll enjoy a garden bursting with vibrant daylilies that captivate everyone who passes by. With healthy plants, the right conditions, and a touch of care, your daylilies will become the crown jewel of the neighborhood. Happy gardening!