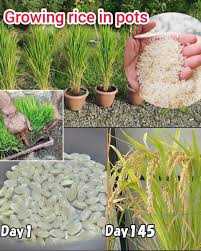
Growing rice from store-bought brown rice is an exciting way to explore the lifecycle of this vital food crop. Although it may not result in a large harvest due to space and germination challenges, it’s a valuable experiment for those interested in urban farming or gardening. Here’s a detailed guide on how to grow rice at home in a pot.
1. Selecting the Right Rice
To start, choose organic brown rice. Unlike white rice, which has been polished and is not viable for planting, brown rice still retains its husk, which is essential for germination. Opting for organic rice ensures that you avoid the chemicals often used in non-organic varieties, which can inhibit sprouting.
2. Germination Process
- Soaking: Begin by soaking the brown rice in a bowl of water for 24 hours. This softens the grains and kick-starts the germination process.
- Sprouting: After soaking, drain the water and wrap the rice in a damp cloth. Place the cloth in a warm, dark spot. Check daily to ensure the cloth stays damp. Within a few days, tiny sprouts should begin to appear from the rice grains.
3. Choosing the Right Pot
- Size: Select a large, deep pot, ideally at least 12 inches deep, to accommodate the rice plant’s long roots. Rice is a deep-rooted plant, and a shallow container will limit its growth.
- Drainage: Ensure the pot has sufficient drainage holes to prevent the roots from sitting in water, which can cause rot.
4. Planting the Rice
- Soil: Use a well-draining mix of potting soil and compost. Rice plants need loose, fertile soil for healthy growth.
- Planting Depth: Place each sprouted grain about 1 inch deep into the soil.
- Spacing: Space the grains about 4-6 inches apart to give them room to grow.
5. Watering
Rice is a water-loving plant. Initially, water the rice plants as you would any other plant until they reach about 4 inches tall. After that, keep the soil flooded with a 2-4 inch layer of water, mimicking the wet conditions rice grows in naturally. If growing indoors, ensure the area is well-ventilated to prevent mold growth.
6. Location
Rice requires full sunlight to thrive, so place your pot in a spot that receives at least 6-8 hours of sunlight each day. If natural sunlight is limited, consider using grow lights to provide the necessary light for healthy growth.
7. Care and Harvesting
- Fertilizer: Apply a balanced fertilizer once a month to nourish your rice plants and promote healthy growth.
- Pest Management: Keep an eye out for pests such as aphids, snails, and fungal infections, which can affect rice plants.
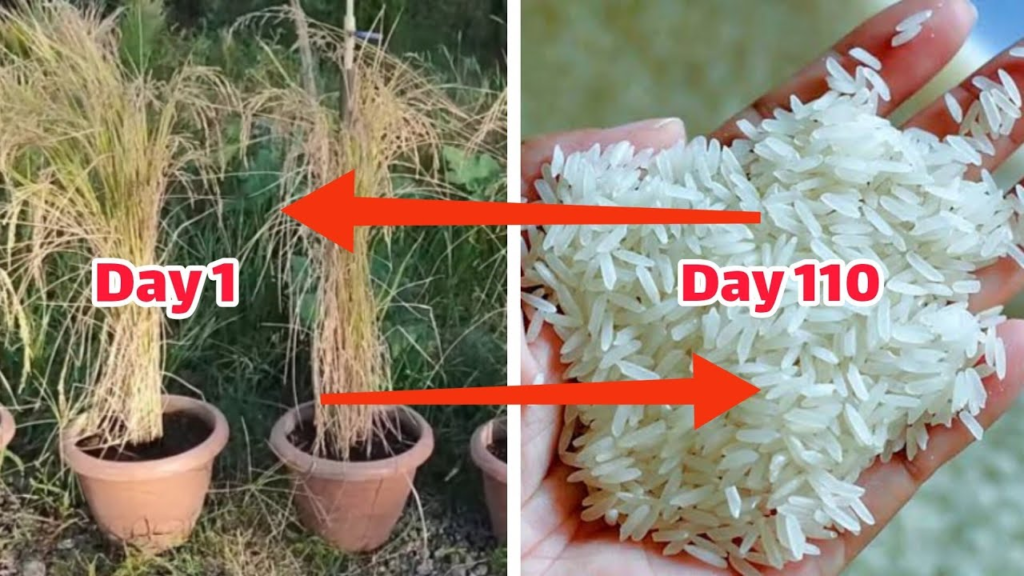
- Harvesting: In about 3-5 months, your rice will be ready for harvest. The stalks will turn golden brown, signaling that the grains have matured. Cut the stalks and allow them to dry for a couple of weeks in a warm, dry place. Once dry, thresh the rice by gently separating the grains from the husks.
8. Storing Your Harvest
After threshing, store your home-grown rice in an airtight container in a cool, dry place to maintain freshness.
Growing rice in a pot at home offers a fascinating glimpse into the process of rice cultivation. While you may not harvest enough rice to feed a family, the experience is a valuable educational journey and a unique addition to any gardener’s collection of projects.