Growing climbing beans is a rewarding gardening experience. Beans are fast-growing and produce pods throughout the season, making them a great crop for regular harvesting. While beans can be planted in rows with traditional support, a bean teepee offers an attractive and practical alternative. Here’s a step-by-step guide on how to create your own bean teepee.
Why Choose a Bean Teepee?
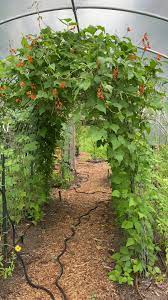
A bean teepee provides a unique and stable structure for climbing beans or even peas. Unlike traditional flat supports, the rounded shape of a teepee reduces the risk of wind damage, making it a good option for areas with more exposure to the elements. Teepees are easy to construct, visually appealing, and can even serve as a playful hideout for kids once the beans grow.
Materials for Building a Bean Teepee
Typically, extra-long bamboo canes are used to form the teepee, but you can use other sturdy materials such as aluminum or PVC pipes for durability, or natural hazel poles for a sustainable option. The key is to choose tall, straight supports that can handle the weight of growing beans.
Preparing the Soil for Beans
Beans thrive in rich, well-drained soil. To prepare, mix in plenty of well-rotted compost a few weeks before planting to create fertile, crumbly soil. Beans have the natural ability to fix nitrogen in the soil, but they still need nutrient-rich soil to grow well. Also, ensure that your beans will receive at least five hours of direct sunlight each day for optimal growth.
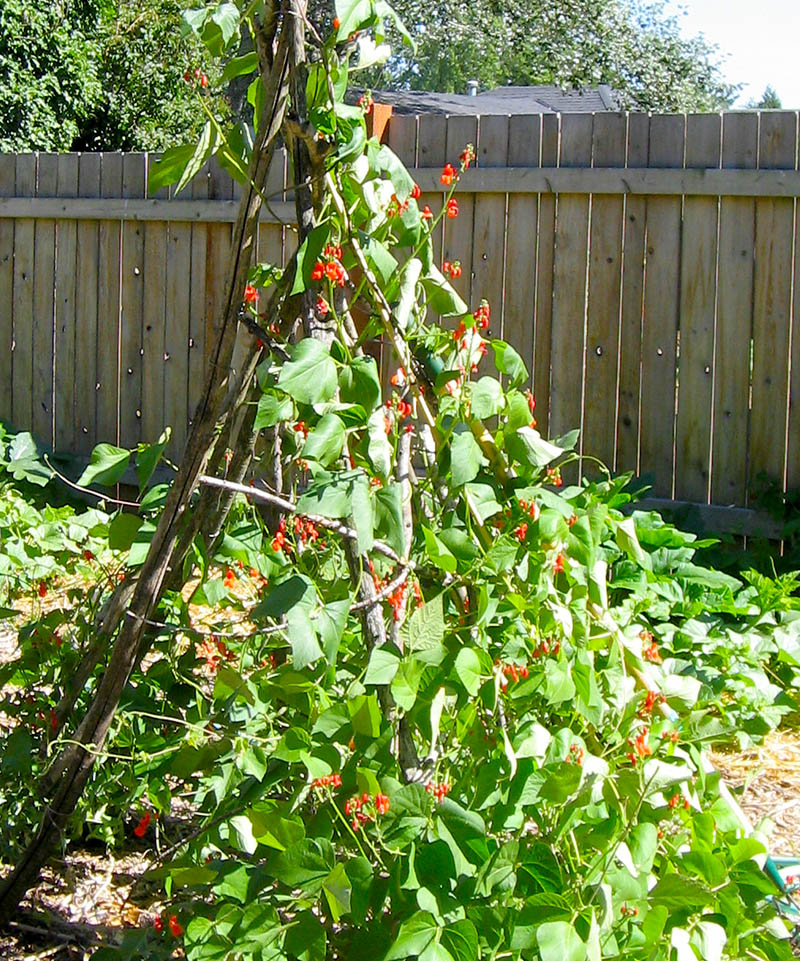
Building the Teepee
- Choose the size: You can adjust the height and diameter of your teepee depending on space and preference. A width of about 3 feet (1 meter) and a height of around 6 to 8 feet (1.8 to 2.4 meters) is typical for most bean varieties.
- Position the poles: Place the poles or canes about 1 foot (30 cm) apart, ensuring they are securely anchored at least 6 inches (15 cm) into the ground.
- Shape the teepee: To create an even circle, use a guide like a garbage can lid to space the poles evenly. Start by positioning poles at the 12, 3, 6, and 9 o’clock positions, then fill in the gaps between them. Once all the poles are in place, tie them together at the top.
- Strengthen the structure: For added stability, run horizontal strings across the teepee. For an 8-foot teepee, place three strings: one about 1 foot (30 cm) off the ground, and the others spaced evenly along the height of the poles.
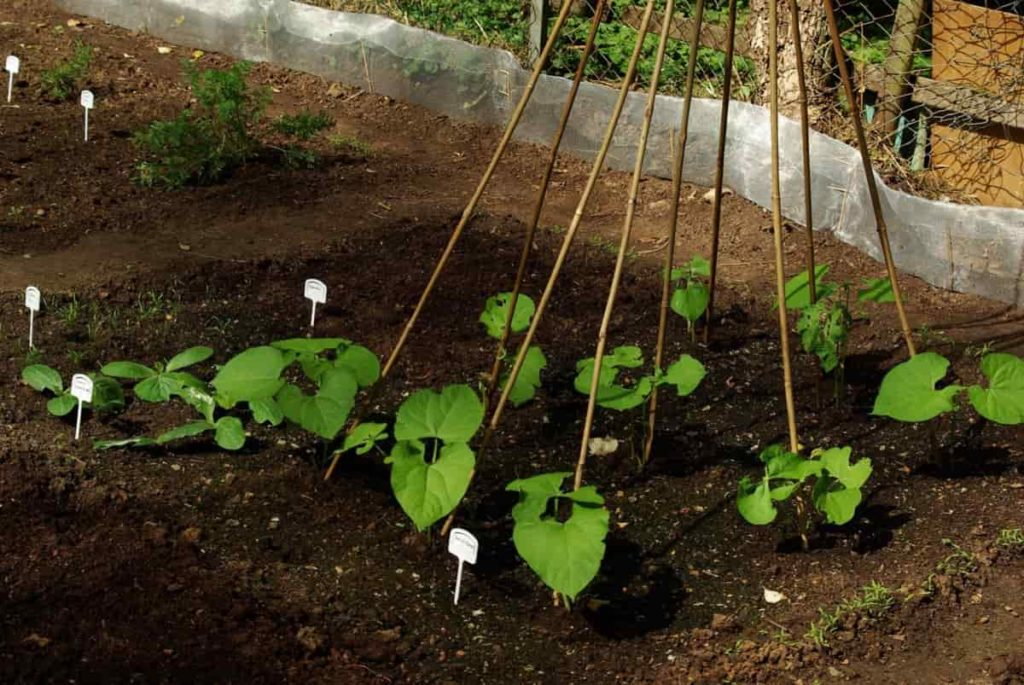
Planting the Beans
Beans grow quickly, so you can sow two seeds at the base of each pole and remove the weaker seedling later. Alternatively, if you’ve started beans in pots, you can transplant them directly. Dig small holes at the base of the canes, place the seedlings in position, and firm the soil around their roots.
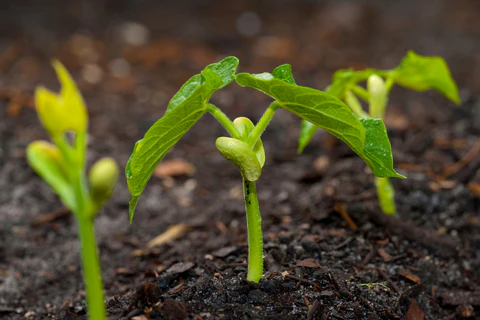
Gently guide the young plants up the canes, loosely tying them in place. Once they settle, the beans will naturally climb the teepee. Water regularly and keep the soil moist to support healthy growth and abundant pods.
Maintaining Your Bean Teepee
Check your bean teepee every few days and harvest beans when they reach a good size. Regular picking encourages the plants to produce more pods. With proper care, your bean teepee will provide a steady supply of fresh beans throughout the season.
Benefits of a Bean Teepee
A bean teepee is not only functional, but it also adds visual interest to your garden. It’s a fun project for the whole family, especially kids who can enjoy the climbing structure as the beans grow. Plus, it’s a fantastic way to introduce children to the joys of gardening.
Building a bean teepee is a simple, creative way to grow climbing beans while enhancing your garden space. Whether you’re an experienced gardener or a beginner, this project offers a fun and rewarding experience.
Are you planning to try a bean teepee this season? Let us know in the comments, and feel free to share your favorite bean varieties!