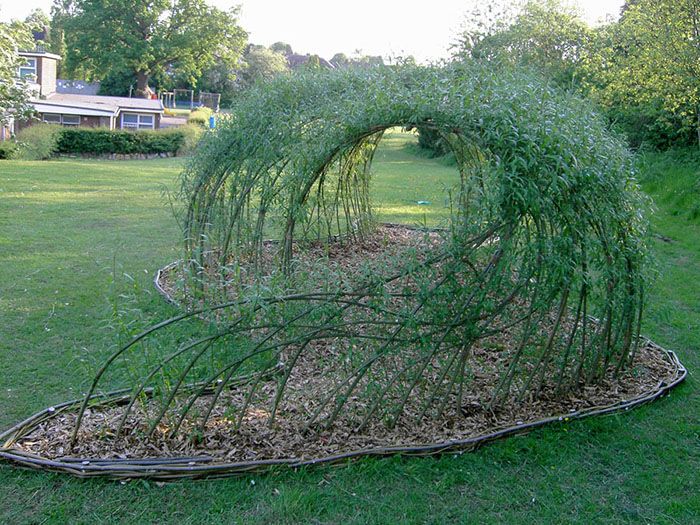
Willow and hazel trees are excellent, fast-growing sources of natural materials for creating various garden structures. With their flexible stems, both species can be used for everything from plant supports to decorative sculptures, and even functional fencing and edging. Below, we’ll guide you through creating a simple willow hurdle, a versatile structure that can enhance your garden.
The Benefits of Willow and Hazel in the Garden
Willow and hazel have been used for centuries in gardens, thanks to their resilience and flexibility. The trees are regularly coppiced, meaning their stems are cut back to encourage new growth. This process provides an abundant supply of straight, flexible stems perfect for weaving and construction. Willow grows rapidly and its stems are especially pliable, making it ideal for weaving into various structures. Hazel, while thicker, is sturdy and often used for beanpoles or larger supports.
If you’re interested in using these materials, you can either purchase pre-harvested bundles of willow or hazel stems or grow your own. To grow your own, simply cut the stems back to a stump and allow new shoots to develop, which can be harvested annually.
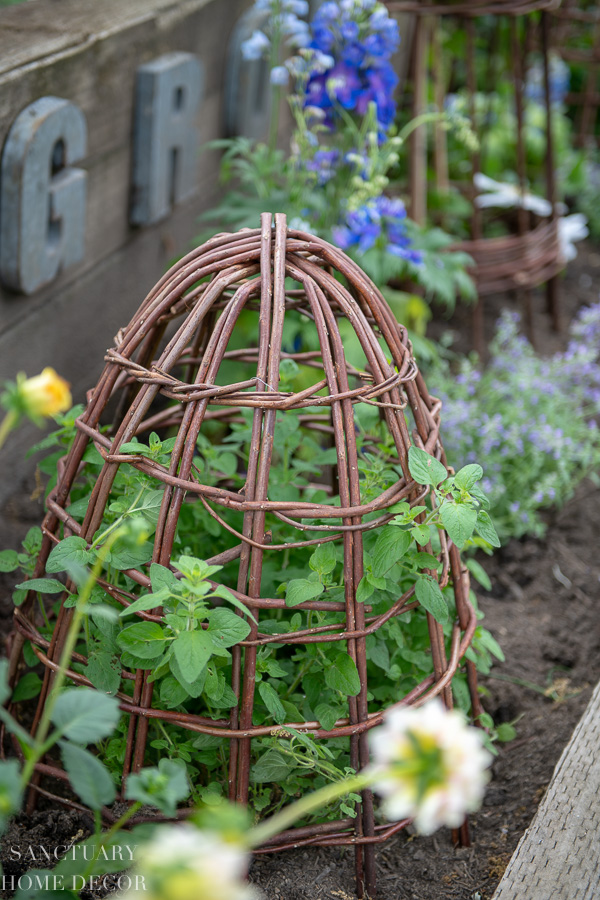
Willow hurdles make stunning fences that help filter wind, preventing the turbulence caused by solid walls. They are also perfect for creating screens that hide unsightly garden areas like compost bins. Additionally, lower woven hurdles can serve as decorative and functional borders for raised garden beds.
Step-by-Step Guide to Weaving a Willow Hurdle
Creating a simple willow hurdle requires just a few tools and materials. Here’s how to do it:
- Prepare the Uprights: Start by driving thick sticks (at least 4 cm in diameter) into the ground to form upright posts. Make sure they are securely anchored, and position the thickest sticks at either end. You can sharpen the ends of the sticks to make them easier to push into the soil.
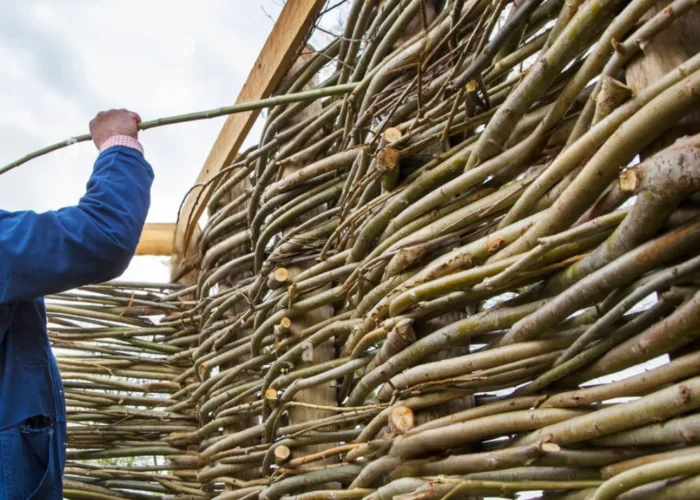
- Begin Weaving: With the uprights in place, take bundles of young willow rods (fresh rods are best, but you can soak older ones for a day or two to soften them). Lay the first rod down horizontally, weaving it in and out of the uprights, alternating between placing it in front of one and behind the next.
- Continue Weaving: Add another rod, this time weaving it in the opposite direction. Repeat the process, alternating the direction of each new rod to form a tight and even weave.
- Secure the Ends: To keep the uprights firmly in place, you’ll need to secure them with additional rods. Choose a long rod, weave it through the structure, and then flex the thinner end around the final upright post. Tuck the end of the rod back into the weave. Repeat this on the opposite end for a secure finish.
- Finishing Touches: As you continue weaving, tap down the rods to ensure they are tight and snug against each other. Every few rows, tuck the ends of the rods back into the weave to create a neat, secure finish. Trim any protruding rods or twist them back into place for a tidy look.
Additional Tips for Using Willow and Hazel in Your Garden
- Willow Hurdles as Edging: Willow hurdles work beautifully as borders for raised beds or garden paths. They add a natural, rustic charm while also providing practical benefits, such as wind filtration and privacy.
- Caring for Your Willow Structures: While willow and hazel are durable materials, they are best suited for use in dry conditions. Prolonged contact with soil can shorten their lifespan, so it’s important to treat or protect the wood if it’s in direct contact with the ground.
Creating your own willow structures is a fun and rewarding project that can transform your garden into a charming, functional space. Whether you use them as decorative screens, edging, or sculptural elements, willow and hazel offer endless possibilities for garden design. Give it a try and let us know how your project turns out, or share any other creative uses for these versatile materials!