By Jessica Jacobs, Contributing Writer
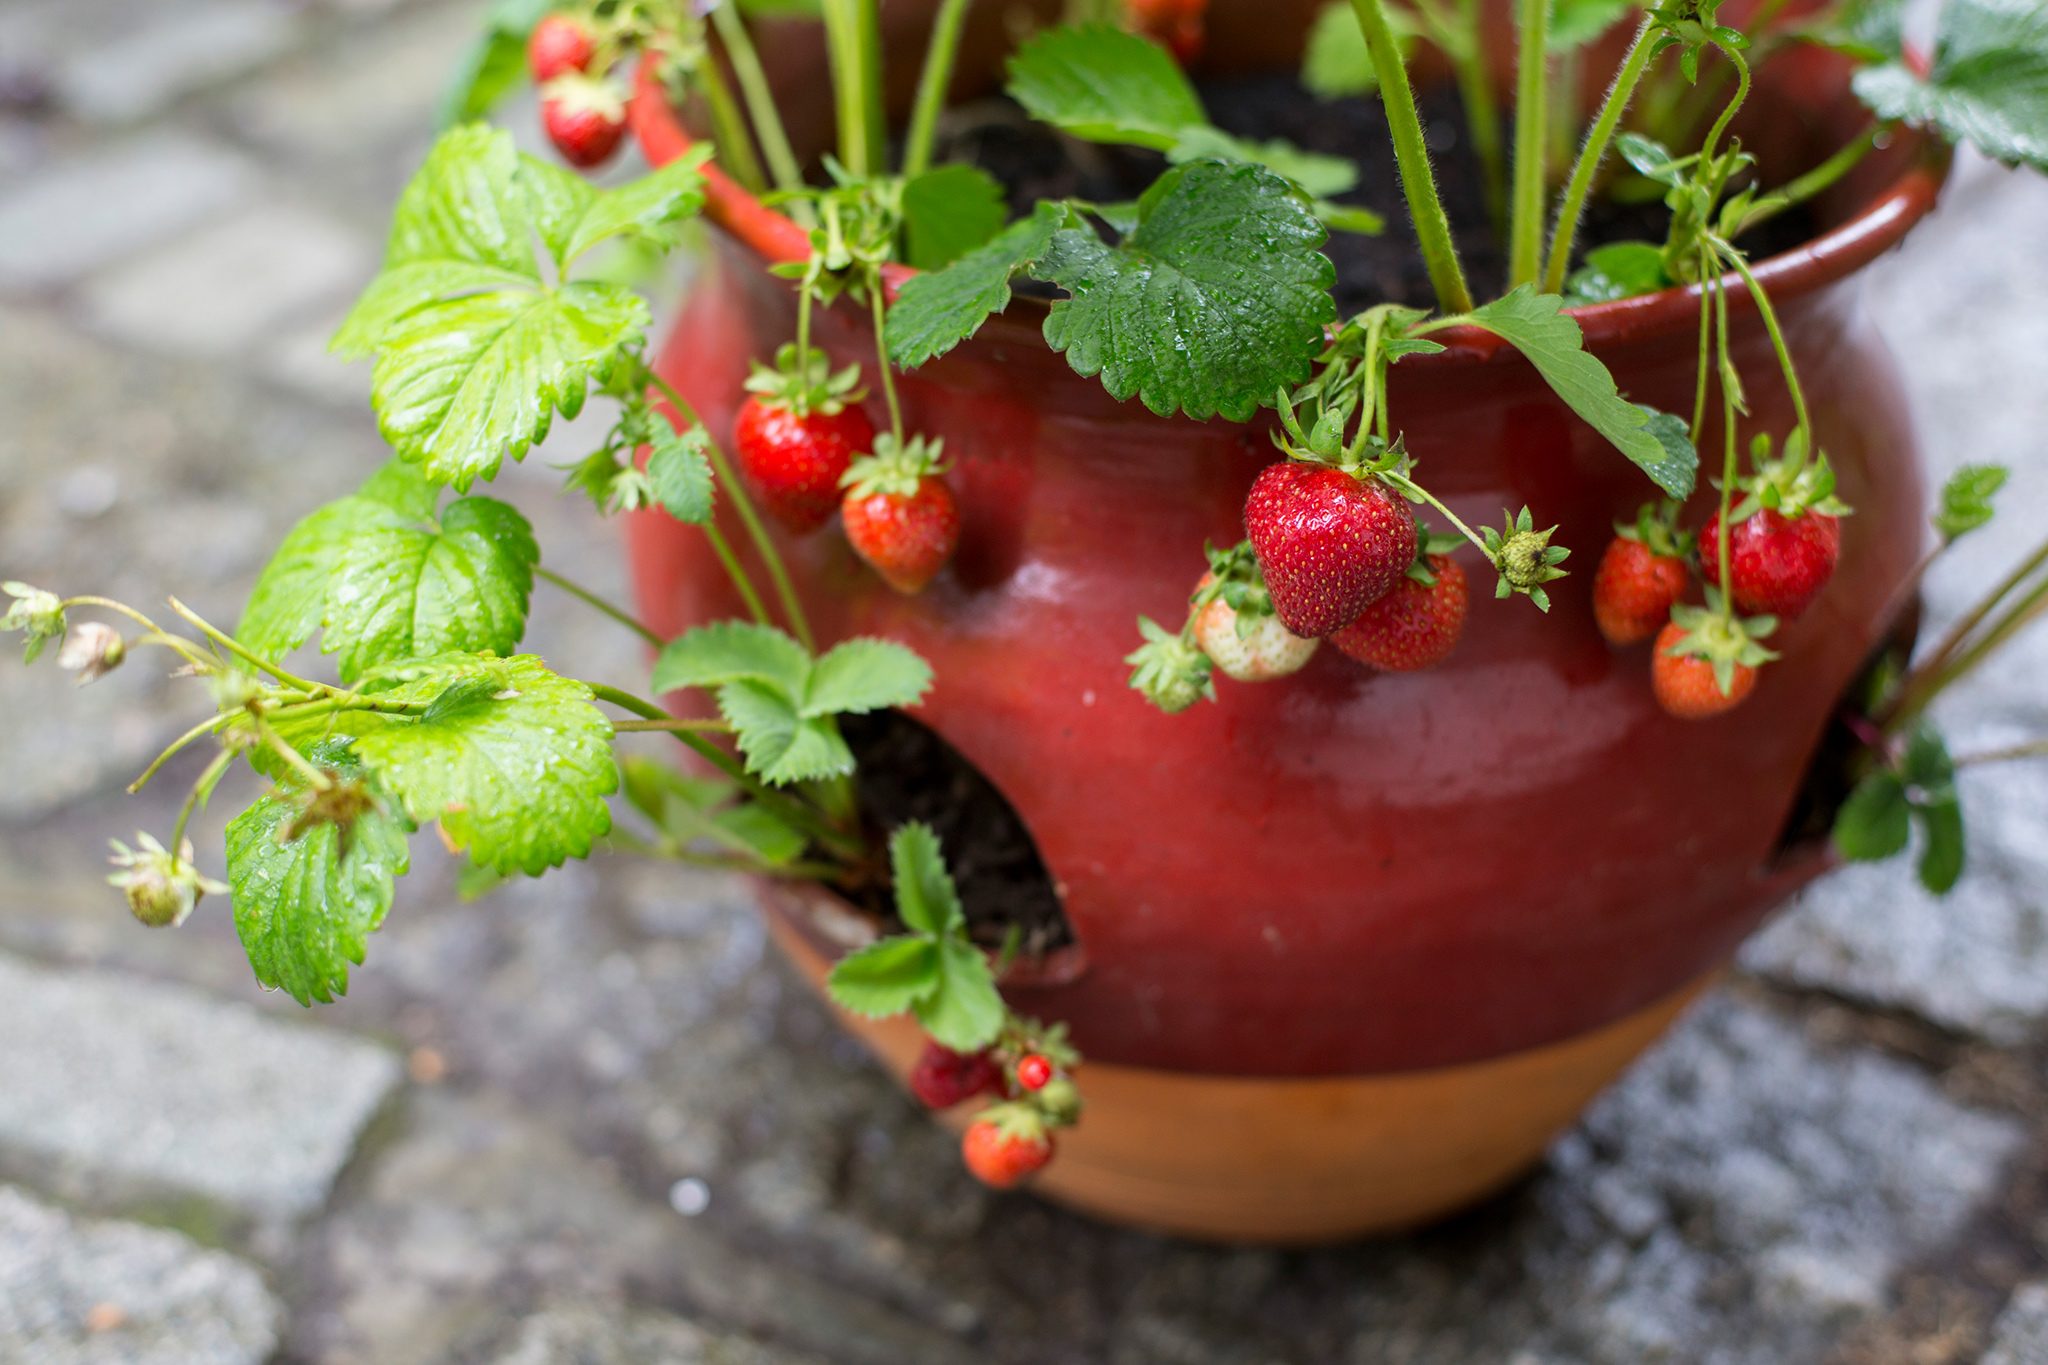
If you’re craving the sweet, fresh taste of strawberries but don’t have the space for a traditional garden, don’t worry! Growing strawberries in a planter is an ideal solution, even for those with limited space. Whether you have a small balcony, a sunny patio, or just a tiny yard, a planter can transform your outdoor area into a fruit-bearing paradise.
With the right care, you can enjoy a bountiful harvest of homegrown strawberries without the need for a large garden. Here’s a comprehensive guide to growing strawberries in a planter, ensuring a rewarding and tasty harvest.
Step 1: Choose the Right Planter
Start by selecting a planter that’s at least 12 inches deep, which provides ample space for the strawberry roots to spread. It’s essential that the planter has drainage holes to avoid waterlogging, which can harm the roots.
Step 2: Pick the Best Strawberry Variety
Different strawberry varieties thrive in different climates and growing conditions. Popular choices include June-bearing, which produces fruit once a year, everbearing, which yields berries in late summer and fall, and day-neutral, which can produce strawberries continuously throughout the growing season. Choose the variety that best suits your climate and your harvesting preferences.
Step 3: Prepare the Soil
Use a well-draining potting mix for your planter. A blend of garden soil and compost works well too, provided it’s loose and well-aerated. Avoid heavy clay soil, as it retains too much moisture, which can harm your plants. Good soil drainage is key to healthy strawberries.

Step 4: Plant the Strawberries
Place your planter in a sunny spot that gets at least 6 hours of direct sunlight daily. Fill the planter with your prepared soil, leaving about an inch of space from the rim. Space your strawberry plants about 12 inches apart to allow for proper growth. When planting, ensure the crown (the point where the roots meet the leaves) sits level with the surface of the soil.
Step 5: Water Regularly
After planting, water the strawberries thoroughly to settle the soil around the roots. Keep the soil consistently moist, but not soggy. Water your plants regularly, especially during hot, dry spells. To prevent disease, avoid watering from overhead, as wet foliage can encourage fungal growth.
Step 6: Feed Your Plants
Strawberries are nutrient-hungry plants, so fertilize them regularly. Use a balanced, slow-release fertilizer, or opt for a liquid fertilizer applied every two to three weeks. Follow the instructions carefully to promote healthy growth and enhance fruit production.
Step 7: Mulch Around Your Plants
To help retain moisture, suppress weeds, and protect your berries, apply a layer of mulch around the base of your strawberry plants. Straw, wood chips, or even grass clippings work well as mulch. Be sure to keep the mulch away from the crowns to prevent rot.
Step 8: Watch for Pests and Diseases
Regularly check your strawberry plants for pests like aphids or slugs, as well as signs of fungal infections. If you spot any issues, treat them promptly with organic methods or consult your local garden center for advice.
Step 9: Encourage Pollination
Most strawberry varieties are self-pollinating, meaning they don’t require another plant to produce fruit. However, gently brushing the flowers with a soft-bristled brush or your finger can help increase pollination and improve fruit yield.
Step 10: Harvest Your Strawberries
Once your strawberries are fully red and sweet-smelling, it’s time to harvest! Gently pluck the ripe berries from the plants, being careful not to damage the delicate fruit. Enjoy the fruits of your labor in everything from smoothies to desserts or simply on their own.
With these straightforward steps, you can grow fresh, delicious strawberries right at home, no matter the size of your outdoor space. Happy gardening!
