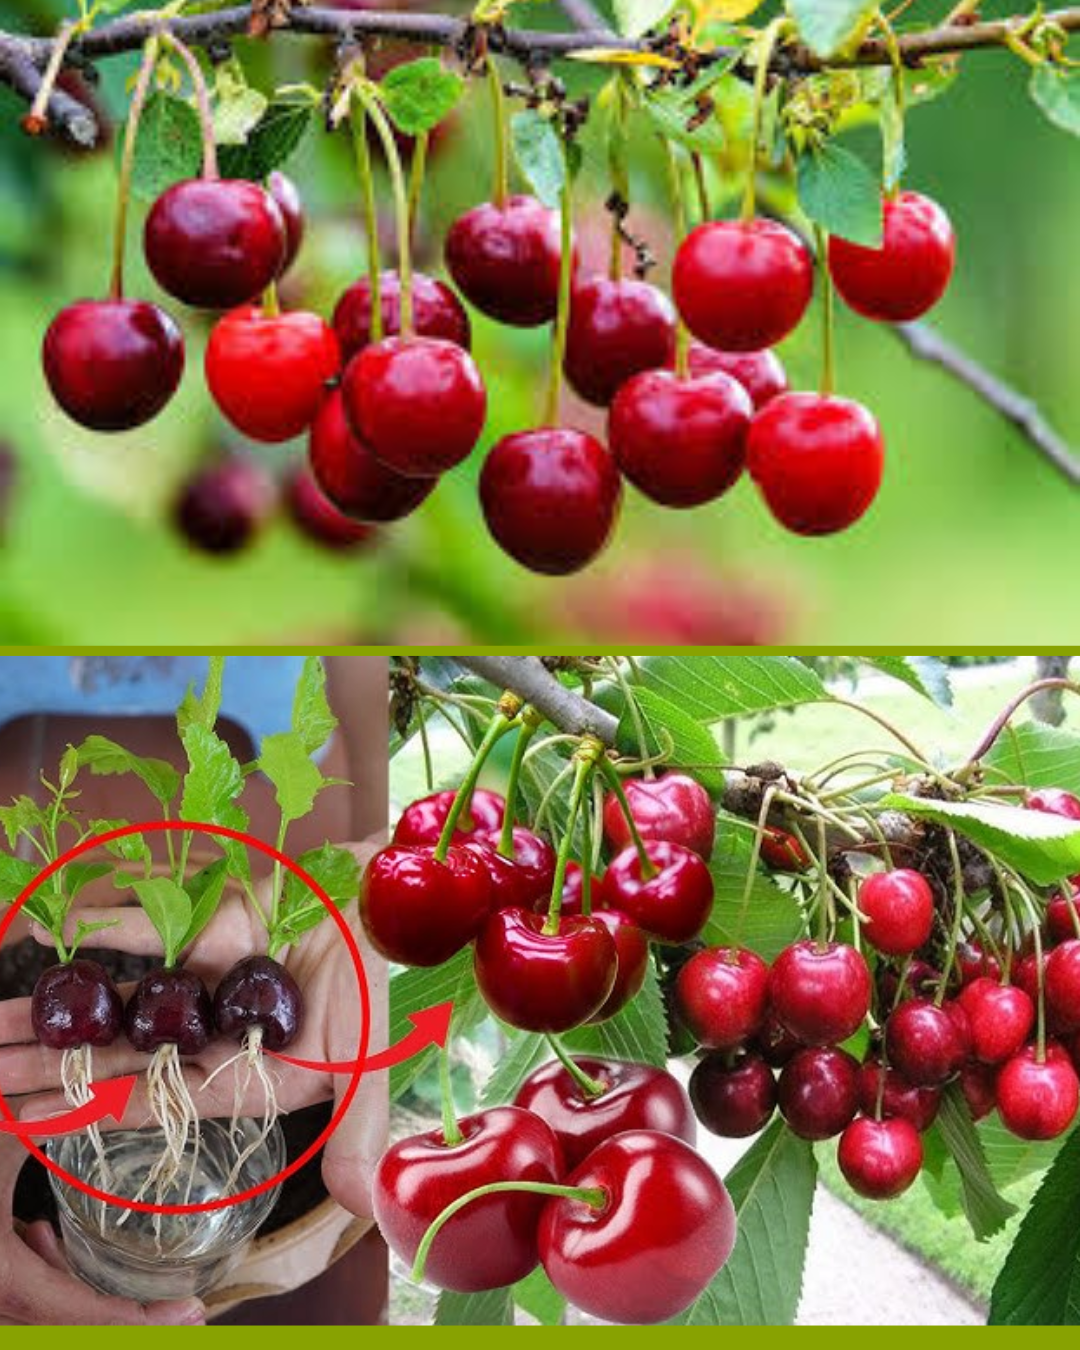
Cultivating a cherry tree from seed in a container is a delightful gardening adventure that combines patience with reward. With careful nurturing, you’ll enjoy beautiful blossoms and, eventually, sweet, homegrown cherries. Here’s an in-depth, step-by-step guide to take you from seed to fruit-bearing tree—all within the comfort of a pot.
Step 1: Collect and Prepare Cherry Seeds
- Harvest Seeds:
- Select seeds from fresh, ripe cherries, ensuring the cherries are disease-free and pest-free.
- Opt for varieties suited to your climate for the best results.
- Clean Seeds:
- Remove all fruit pulp by rinsing the seeds thoroughly under running water.
- This prevents mold growth during storage or germination.
Step 2: Simulate Winter with Stratification
- Dry the Seeds:
- Allow the seeds to air dry in a cool, dark place for 3–5 days.
- Cold Stratification:
- Place the seeds in a resealable plastic bag with moist peat moss, sand, or a damp paper towel.
- Store them in the refrigerator for 10–12 weeks, mimicking the natural winter chill that triggers germination.
Step 3: Sow the Seeds
- Prepare the Pot:
- Use a container with good drainage holes and fill it with nutrient-rich, well-draining soil.
- Plant the Seeds:
- Bury the stratified seeds about 2 inches deep in the soil.
- Water thoroughly, ensuring the soil is evenly moist but not soggy.
Step 4: Encourage Germination
- Optimal Location:
- Place the pot in a warm, sunny spot where it can receive ample light.
- Watering:
- Maintain consistent moisture without overwatering.
- Timing:
- Germination may take several weeks; patience is key!

Step 5: Transplant Seedlings
- Upgrade the Pot:
- When the seedlings develop a few leaves and are strong enough to handle, transfer them to a larger pot to accommodate growth.
- Fresh Soil Mix:
- Use rich, well-draining soil to support the young tree’s development.
Step 6: Provide Ongoing Care
- Sunlight:
- Ensure the tree receives at least 6–8 hours of direct sunlight daily.
- Watering:
- Water regularly, letting the soil dry slightly between waterings to prevent root rot.
- Fertilizing:
- Apply a balanced, slow-release fertilizer as per the manufacturer’s instructions to boost growth and health.
Step 7: Shape and Maintain
- Pruning:
- Trim dead, damaged, or overcrowded branches to encourage healthy growth and a manageable shape.
- Training:
- Use stakes or ties to guide the tree’s growth, ensuring strong and upright development.
Step 8: Protect and Monitor
- Pest and Disease Control:
- Inspect the tree regularly for signs of pests or diseases, treating issues promptly with organic or chemical solutions.
- Overwintering:
- For areas with severe winters, move the pot indoors or wrap it with insulating material to protect the roots and trunk.
Step 9: Enjoy the Fruits of Your Labor
- Time to Mature:
- Cherry trees grown from seed may take several years to bear fruit, but the wait is worth it.
- Harvesting:
- Pick cherries when they’re plump, brightly colored, and easily detached from the stem.
Conclusion:
Growing a cherry tree in a pot is a rewarding process that blends patience with dedication. By following these detailed steps, you can cultivate a healthy, thriving tree that offers beautiful blossoms and the satisfaction of harvesting your own cherries. Embrace the journey, and enjoy the sweetness of your success!
Let me know if there’s anything else you’d like to refine further!
