Chili jam is one of those rare, irresistible delights. I first discovered it on a veggie burger during a visit to the Lake District, and ever since, I’ve been hooked. Whenever it appears on a menu, I can’t help but order it. However, it wasn’t until recently that I thought to try making my own.
In the past, I’ve relied on freezing to preserve my chili harvest—simple and effective. But when I found myself with an unexpected bounty of chilies this year, I decided to step outside my comfort zone and try something new: homemade chili jam. I considered dehydrating them but soon remembered the mouthwatering chili jam I had enjoyed.
Though I had never made jam before, I felt adventurous that day. I borrowed a recipe from Nigella Lawson, grabbed some jam sugar and cider vinegar, and dug out some old jars. Then I headed out to the garden to harvest my chilies.
Growing the Right Chilies for Jam
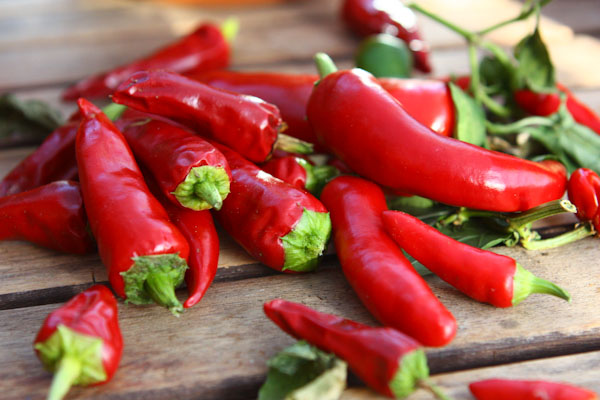
For the past couple of years, I’ve been growing ‘Gusto Green’ chilies. Despite the name, these chilies turn red when ripe, though they start out green. This variety is incredibly prolific and packs a punch, making it perfect for chili jam. I also mixed in a few milder chilies I grew from free seeds.
I harvested both red and green chilies for my jam, but you can use whatever variety you have on hand. While waiting for fully red chilies would have been ideal, my craving for chili jam got the better of me, and I couldn’t resist picking them early.
Preparing the Jam
Making chili jam starts with preparing your jars. Wash them and place them upside down in the oven at 140°C (285°F) to sterilize. Alternatively, you can run them through the dishwasher.
Next, prepare the chilies. You can choose to remove the seeds for a milder jam or leave them in to amp up the heat. Blitz the chilies and a couple of sweet peppers in a food processor for a rough puree.
In a heavy-bottomed pot, gently dissolve jam sugar into cider vinegar. Once dissolved, add the chili-pepper mixture and bring it to a boil, simmering for about 10 minutes.

The Jam Setting Test
To test whether your jam is ready, place a spoonful on a chilled saucer (keep one in the fridge for this purpose). After a minute, gently push the jam with your finger. If it wrinkles, it’s ready to jar. If it doesn’t, let it simmer for a few more minutes before testing again.
Jarring the Jam
Once your jam has reached the right consistency, let it cool for about 20 minutes. While many recipes advise leaving the jam to cool for 40 minutes, I found 20 minutes sufficient. Stir the jam, then carefully pour it into your sterilized jars using a funnel. Seal the jars and leave them to cool. After a while, the lids should “pop,” signaling that the jars are sealed.
Chili Jam Ingredients
For a basic batch of chili jam, you’ll need:
- 150g fresh chilies (your preferred variety)
- 150g red peppers
- 1kg jam sugar
- 600ml cider vinegar
Note: I adjusted the recipe based on online feedback, reducing the vinegar to 500ml and increasing the chili and pepper amounts to 200g each, but feel free to experiment to find your preferred balance.
How to Use Chili Jam
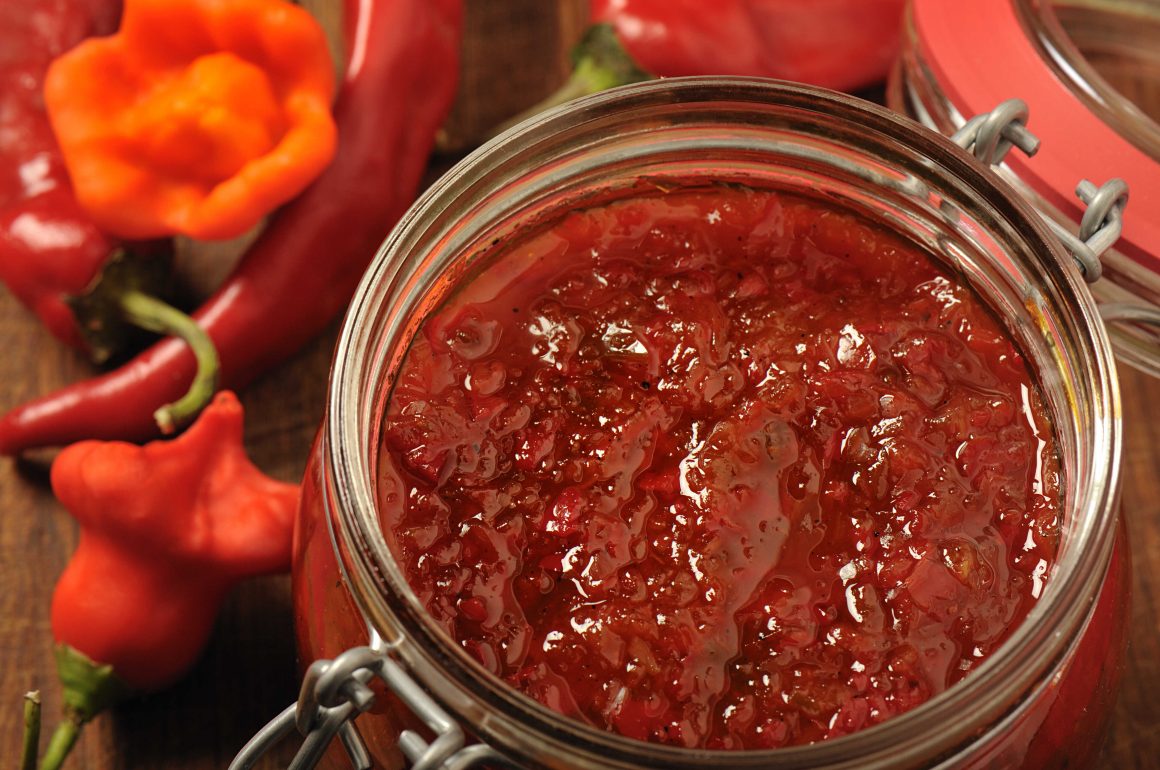
After waiting a whole day, I couldn’t resist opening a jar. The result? A sweet, rich flavor with just the right amount of warmth—more savory than fiery. The heat level depends on the type of chilies and how much seed and pith you include.
Now, I slather it on everything—crackers, stir-fries, burgers, and even goat cheese with beetroot. It’s especially divine on thick slices of toast. In fact, it’s hard to think of a dish that wouldn’t benefit from this cheeky condiment!
If you’ve made your own chili jam, I’d love to hear how you use it or any tips you have to make it even better. Let’s share the love for this fiery, flavorful treat!