By Jessica Jacobs
Contributing Writer
A tomato trellis is an essential gardening tool that helps guide and stabilize tomato plants, promoting healthier growth and maximizing yield. By providing a structure for your plants to climb, it reduces the risk of disease, encourages better air circulation, and ensures proper sunlight exposure. This step-by-step guide will show you how to build a sturdy trellis that supports your plants while enhancing your garden’s overall appearance.
Why Use a Tomato Trellis?
Using a tomato trellis offers several benefits:
- Prevents Ground Contact: By keeping tomato plants off the ground, a trellis helps prevent diseases, pests, and fruit rot caused by soil contact.
- Maximizes Space: It encourages vertical growth, saving valuable garden space.
- Improves Growth: With better air circulation and sunlight, plants grow more robustly, producing healthier, tastier tomatoes.
- Durable Support: A well-built trellis withstands the weight of mature plants, providing long-lasting stability.
Now, let’s dive into the process of building your own tomato trellis.

Materials Needed:
- 6-8 ft Wooden stakes or metal posts
- Twine or wire
- Hammer or mallet
- Gardening gloves
- Scissors or wire cutters (if using wire)
Step 1: Choose a Location
Select a sunny spot in your garden that receives at least 6 to 8 hours of direct sunlight daily. Ensure there’s enough space for the number of tomato plants you plan to grow.
Step 2: Prepare the Soil
Clear the area of weeds, rocks, and debris. Loosen the soil and mix in organic matter like compost or well-rotted manure for better drainage and fertility.
Step 3: Install the Main Posts
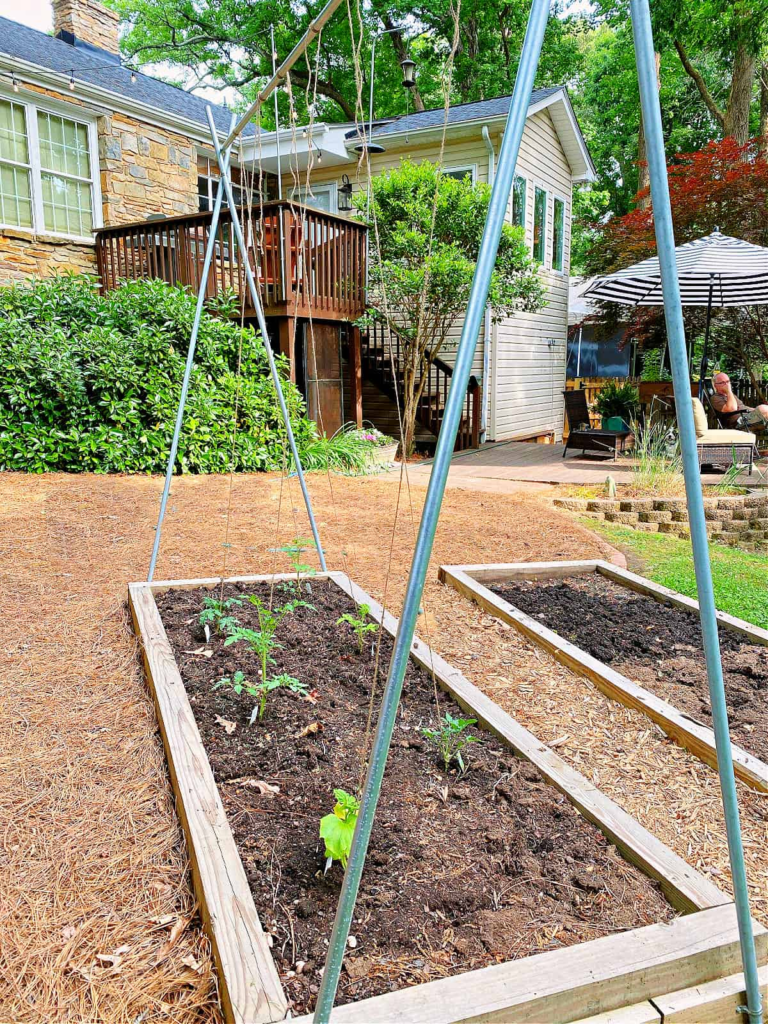
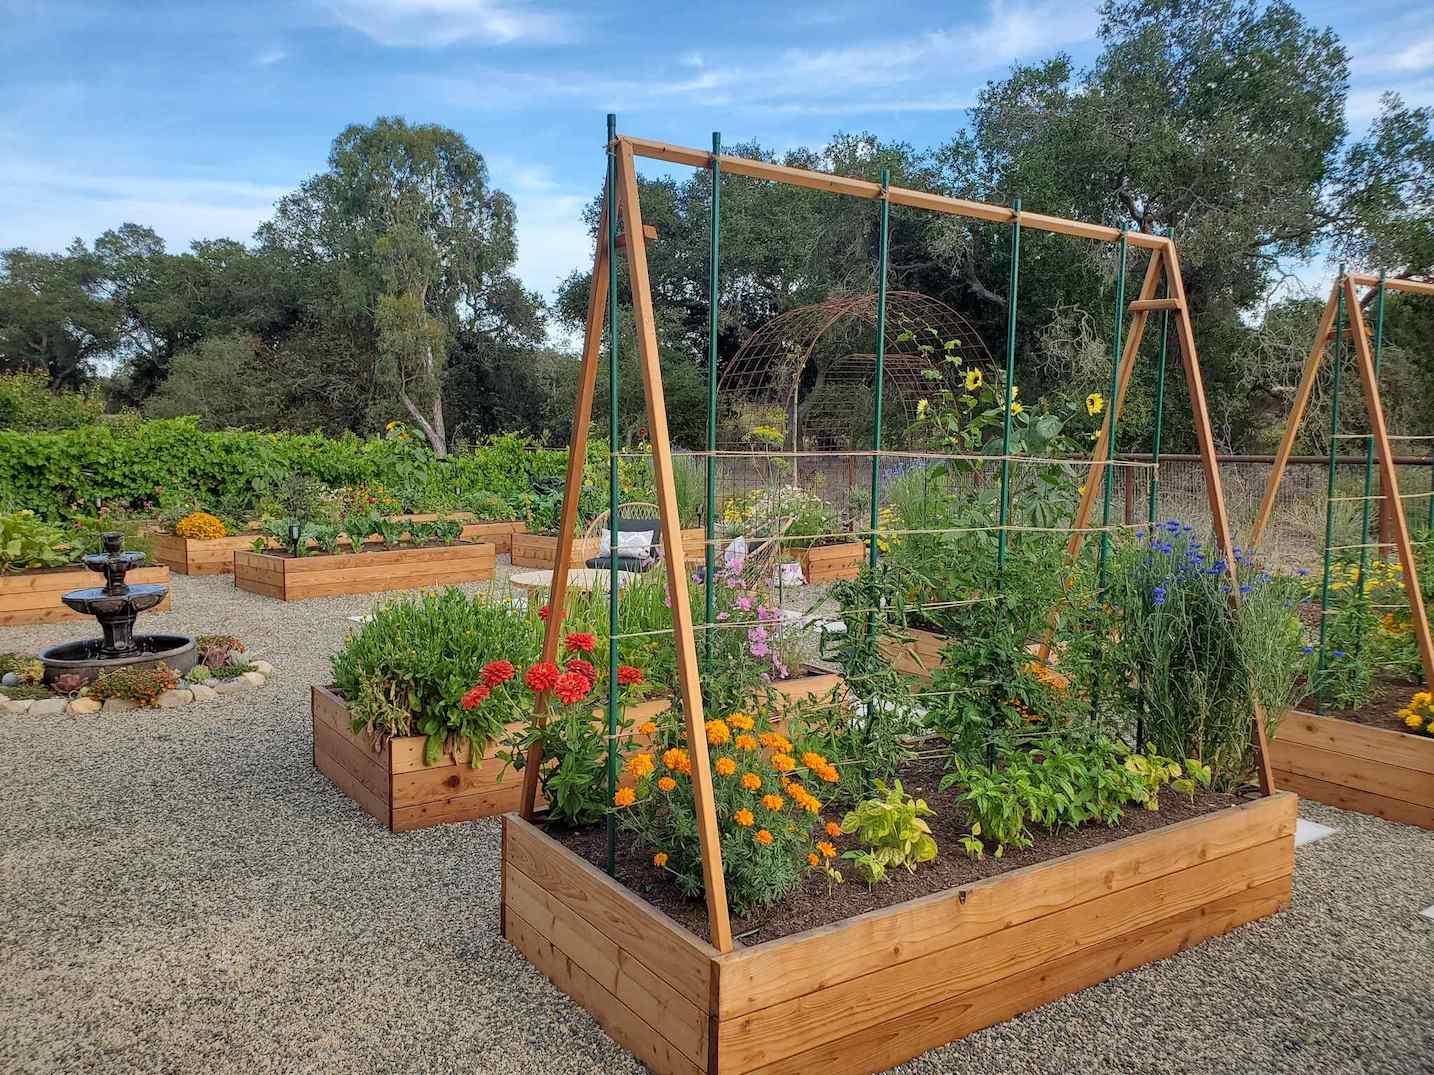
Place the wooden stakes or metal posts at either end of the row where your tomato plants will be. Drive them 1-2 feet deep into the soil, leaving 4-6 feet above ground to provide adequate support.
Step 4: Secure the Posts
Use a hammer or mallet to firmly tap the posts into the ground, ensuring they are stable and will not topple as your plants grow heavy.
Step 5: Attach Horizontal Support Lines
Tie twine or wire tightly from one post to the other. Repeat this process, spacing each line about 12-18 inches apart. The number of lines depends on the growth habit of your tomato variety.
Step 6: Plant the Tomato Seedlings
Dig holes for each tomato seedling, spacing them according to the recommendations for your chosen variety. Bury the lower portion of the stem, as tomatoes can root from their stems and grow stronger.
Step 7: Tie the Plants to the Trellis
As your tomato plants grow, gently tie the main stems to the twine or wire. Use soft ties, cloth strips, or twist ties to secure the plants, adjusting them regularly to prevent damage.
Step 8: Prune and Train the Plants
Throughout the growing season, prune side shoots (called suckers) that appear in the leaf axils. This keeps the plant focused on producing fruit rather than excess foliage. Continue to train the main stem up the trellis, securing new growth as necessary.
Step 9: Ongoing Care and Maintenance
Regularly inspect your plants for pests, diseases, or signs of nutrient deficiencies. Water consistently to keep the soil evenly moist, and fertilize according to your tomato variety’s needs.
By following these steps, you’ll create a durable, efficient tomato trellis that supports your plants, encourages upward growth, and results in a bountiful harvest.
