If you’re limited on garden space, growing climbing vegetables like squashes vertically can maximize your available area. Vegetable arches are a visually appealing and highly practical way to train vining crops upwards, freeing up ground space for other plants. Here’s how to build an attractive and functional vegetable arch.
Why Use Vegetable Arches?
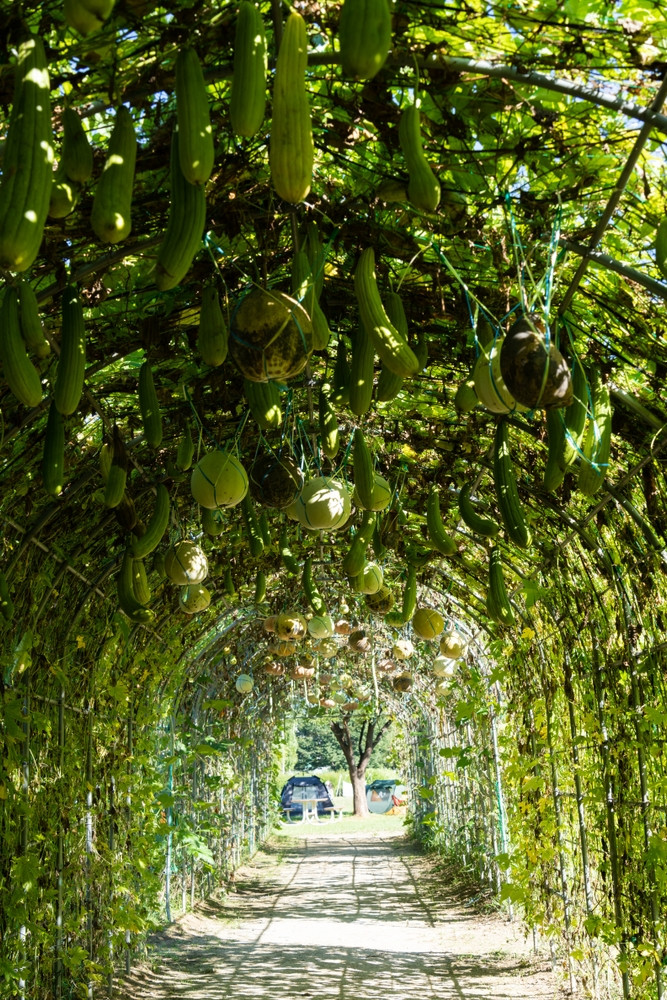
Vertical gardening techniques, such as vegetable arches, help you make the most of your garden by minimizing the ground space required for sprawling vegetables like squashes. Growing these plants upward allows you to free up soil for other crops while adding an elegant, natural structure to your garden. Arches can frame a path, create a living tunnel, or serve as a stunning focal point in your garden.
You can build arches from natural materials like hazel branches for a rustic look, or opt for a more modern design using bamboo canes and PVC piping. If you already have an arch, it’s simple to adapt it for climbing vegetables.
Building Your Vegetable Arch
Here’s a step-by-step guide to constructing a vegetable arch for climbing vegetables like squash:
- Choosing the Frame
We started with two self-assembled arches made from powder-coated, rust-resistant steel. These arches are easy to put together with the included instructions and can be disassembled or moved in the future if needed. - Positioning the Arches
Push the completed arches about 16 inches (40 cm) into the ground. Make sure they’re stable, especially for windy days when the arch will be covered in foliage. For added precision, use a spirit level to ensure the arches are vertical. This will help prevent any imbalances as the squashes grow heavier. To increase the structure’s stability, we secured the arches together with cable ties. - Adding Support for the Vegetables
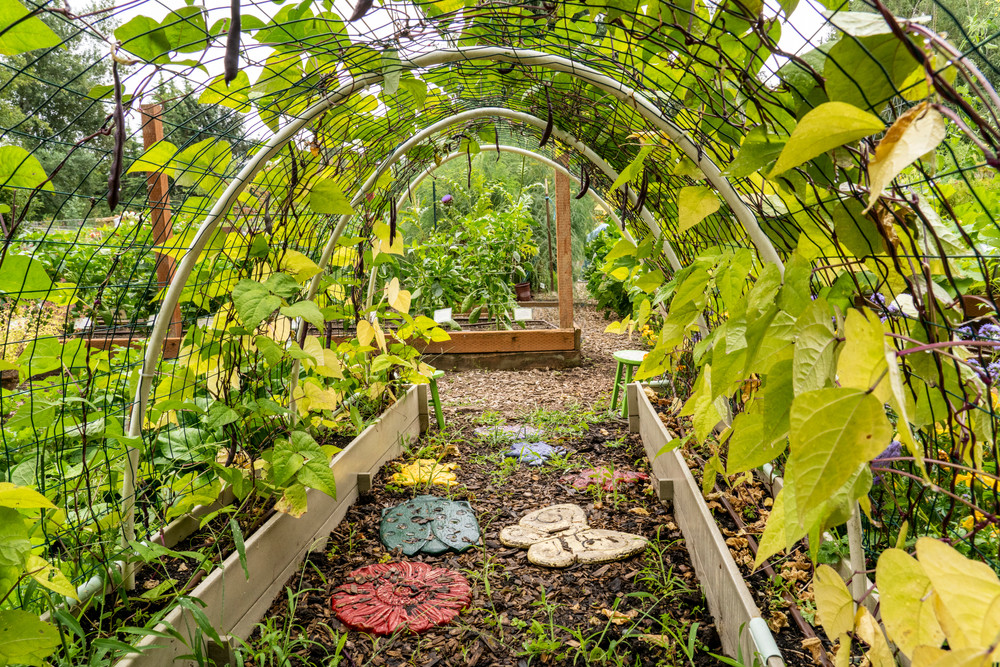
While the arch itself is suitable for plants like pole beans, squashes need additional support for their tendrils to climb. Galvanized wire mesh, chicken wire, or cattle panels work perfectly for this purpose. Cut the wire mesh to fit the arch and attach it using cable ties or strong garden wire. Be sure to secure the mesh at regular intervals along both the horizontal and vertical supports. - Creating Additional Vertical Supports
If the mesh doesn’t reach the top of the arch, you can add extra support by running heavy-duty wire across the arch. Start at the front, pulling the wire horizontally and securing it to the vertical supports. Continue tying the wire at intervals, each time lifting it slightly higher until it reaches the top. This gives the plants plenty of vertical space to grow. - Planting the Squash
Now, you’re ready to plant your climbing squash. We recommend adding well-rotted compost to the soil to give your plants a nutrient-rich start. Position the squash plants so their stems point towards the mesh, and water them thoroughly. You may need to loosely tie the stems to the mesh at first, but soon they will naturally begin climbing.
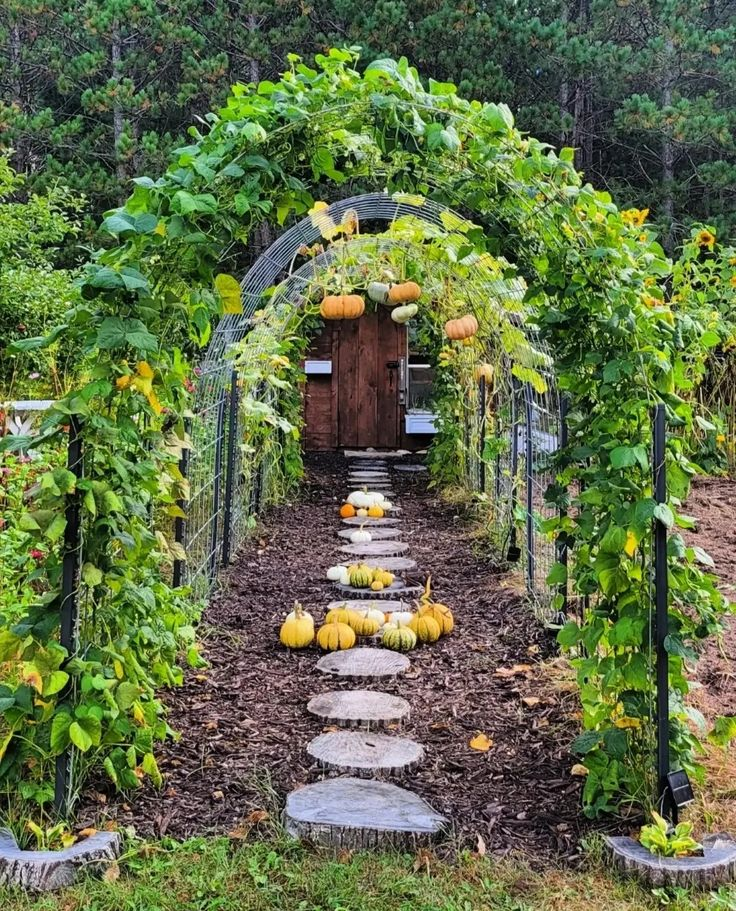
By late summer, your arch will be fully covered with lush foliage and dangling squashes, creating a stunning garden feature. Vegetable arches not only help save space but also add a touch of beauty and functionality to any garden.
Final Thoughts
A vegetable arch can transform your garden while making it easier to grow vining plants. It’s an excellent way to maximize your space and create a lovely garden feature. If you have other methods of building vertical supports or arches for your vegetables, we’d love to hear about them in the comments below. Happy gardening!