Fermented dill pickles are not only delicious but also packed with probiotics that support gut health. While there are many ways to pickle cucumbers, fermenting them naturally gives the best results. This method, which produces tangy “half sours,” uses the natural bacteria on cucumbers for fermentation, so no special starter culture is needed.
Here’s a step-by-step guide to help you create your own homemade fermented dill pickles:
1. Gather Your Cucumbers
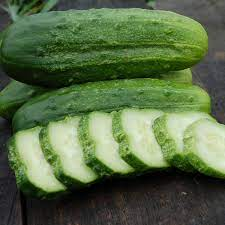
Start with about 2 pounds (1 kg) of small, fresh cucumbers. Pickling cucumbers work best, but any small variety will do. Collect them from the garden and store them in the refrigerator until you’re ready to pickle.

2. Prepare the Brine
In two 1-quart (800ml) jars, mix 2 tablespoons (28g) of salt with warm water, stirring to dissolve. Taste the mixture—it should be as salty as seawater, which means you’ve achieved a 4% salt concentration.
3. Prepare the Cucumbers
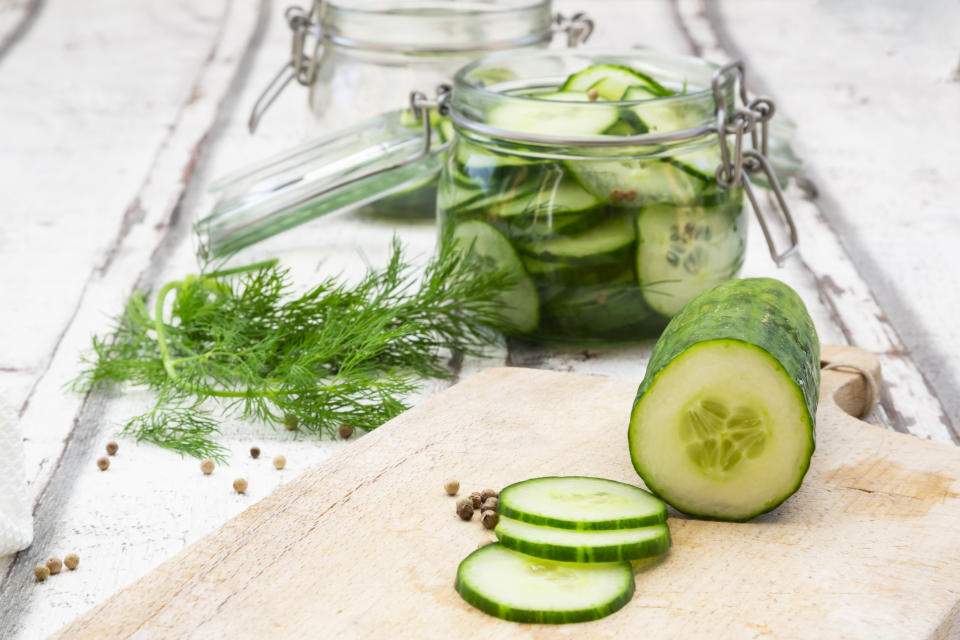
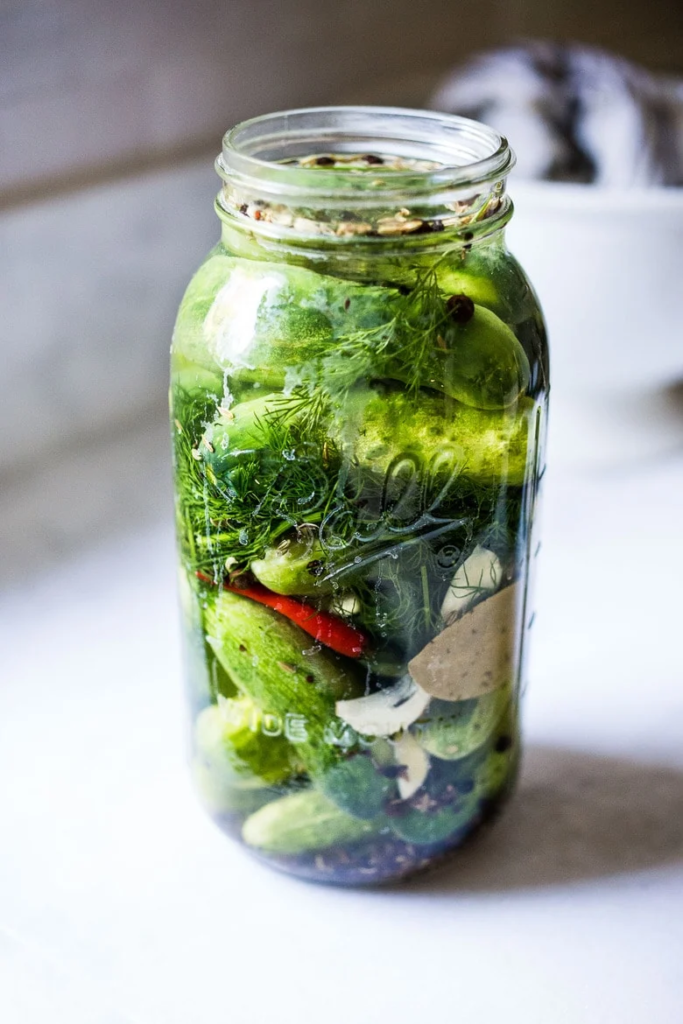
Wash the cucumbers under cool running water. Pack them into a clean 2-quart (1.6 liter) glass jar, layering in dill flower heads or branches and five peeled garlic cloves. Pour the cooled brine over the cucumbers, leaving about 2 inches (5 cm) of space at the top of the jar.

4. Submerge the Cucumbers
To keep the cucumbers submerged, fill a small plastic zip-top bag halfway with water, seal it, and place it into the jar. This will also allow excess gas to escape. Set the jar on a plate or in a bowl to catch any potential overflow, and leave it at room temperature overnight.
5. Adjust the Brine
After 2 days, remove the bag and discard a couple of inches of brine. Taste the remaining brine—it will likely need more salt. Dissolve 1 tablespoon (14g) of salt in 1 pint (400ml) of warm water, let it cool, and add it to the jar. Stir gently and taste again to ensure the brine is salty enough.
6. Maintain Ideal Temperature
For optimal fermentation, place your jar in a cooler with a frozen plastic water bottle to maintain a temperature of 55-60°F (13-15°C). This temperature range is perfect for the beneficial bacteria to thrive, so swap out the frozen bottle daily.
7. Monitor the Fermentation
Check your pickles daily. Press down any cucumbers that have floated, rinse and replace the bag, and remove any surface scum. Taste the brine for saltiness and adjust as necessary. By day 4, the salt level should stabilize.

8. Test the Pickles
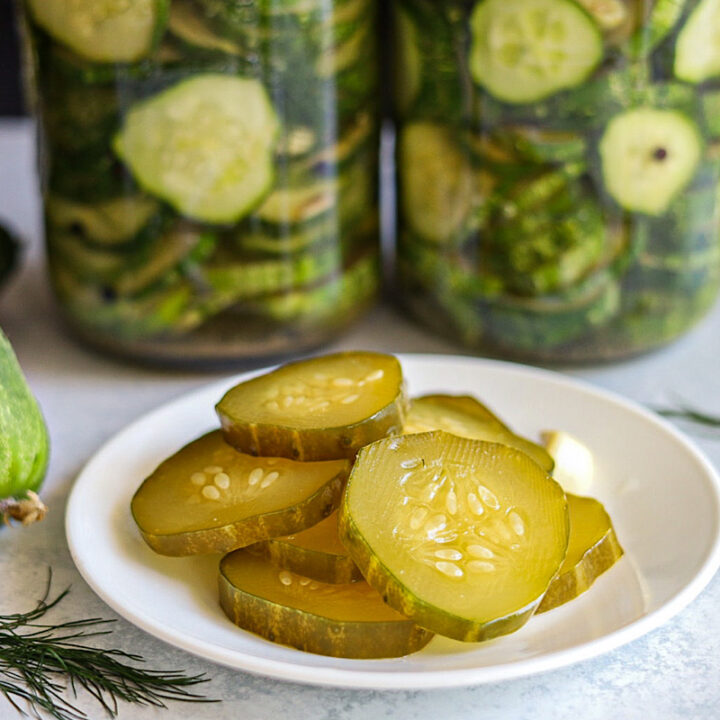
Around day 5 or 6, taste one of the cucumbers. It should have lost its bright green color, and the interior should appear more translucent. If the brine is cloudy with white residue, your pickles are ready to be transferred to the fridge.
9. Prepare for Refrigeration
Clean a new 2-quart (1.6 liter) jar, and if you have one, place a fresh grape leaf and a sprig of dill at the bottom. Rinse each cucumber and garlic clove under cool water, then pack the cucumbers back into the new jar. Discard the old dill and replace it with fresh dill.
10. Final Brine and Refrigeration
Make a fresh brine by mixing 1 tablespoon (14g) of salt per quart (800ml) of water. Pour the brine over the cucumbers, seal the jar, and refrigerate. The pickles will continue to mature and develop flavor, reaching their probiotic peak within two weeks.
By following these steps, you’ll create flavorful, crunchy fermented dill pickles that are a tasty and healthy addition to any meal.
