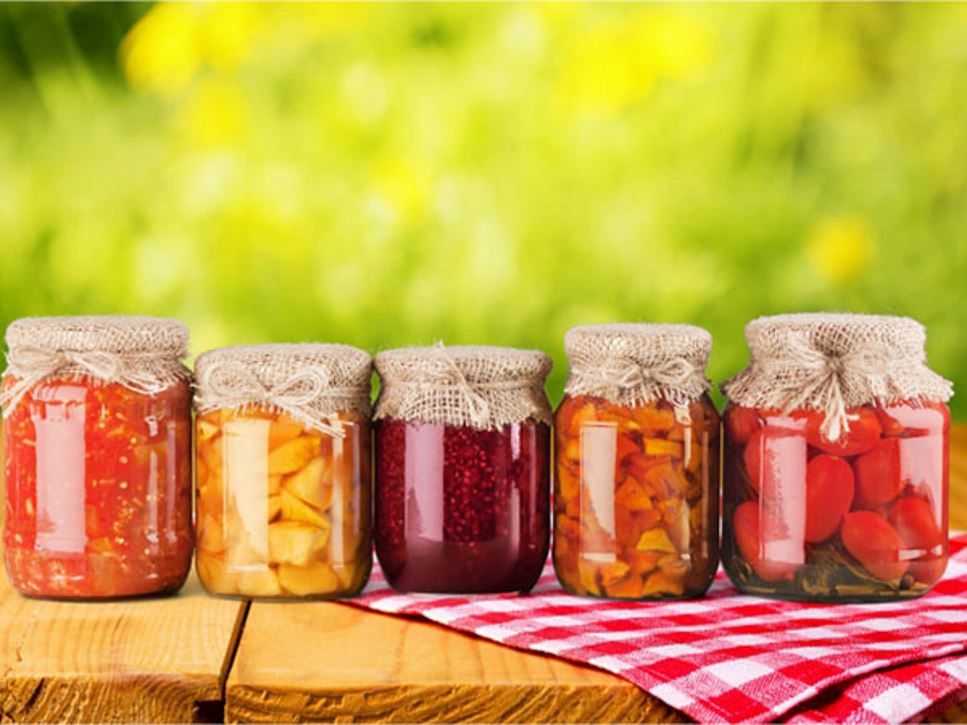
Canning is a cost-effective and simple method of preserving garden produce. By using heat to kill bacteria and other spoilage microbes, this process creates a vacuum seal as jars cool, extending the shelf life of the food. One of the easiest canning methods is water-bath canning, which is perfect for high-acid foods like fruits, jams, pickled vegetables, salsas, and tomatoes.
Canning Safely
The key to successful canning is ensuring a strong seal between the jar and its lid. If the seal breaks, bacteria or mold can enter, spoiling the contents. A loud hissing sound when opening a jar indicates spoilage, along with visible signs like mold, discoloration, or bad odors.
Water-bath canning works best for foods with high acidity, such as most fruits. Low-acid vegetables require pickling in a vinegar solution before canning to raise their acidity. Tomatoes, while acidic, are borderline safe for water-bath canning and should be combined with an acid like lemon juice to prevent botulism, a rare but serious illness caused by improperly canned food. Always follow canning recipes precisely to ensure safety.
Essential Equipment
To get started, you’ll need the following tools:
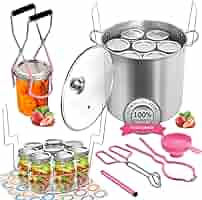
- A large water-bath canner or stockpot
- A canning rack or a dish towel to keep jars off the bottom
- A jar lifter or canning tongs
- A wide-mouthed funnel
- Spatula, ladle, and dish towels
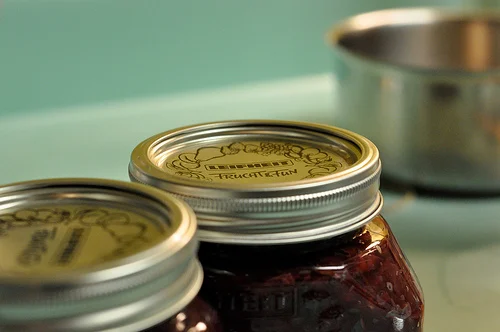
- Canning or mason jars with lids and bands
Sterilizing Jars
Before filling jars, clean them with hot, soapy water and rinse thoroughly. To sterilize, you can either:
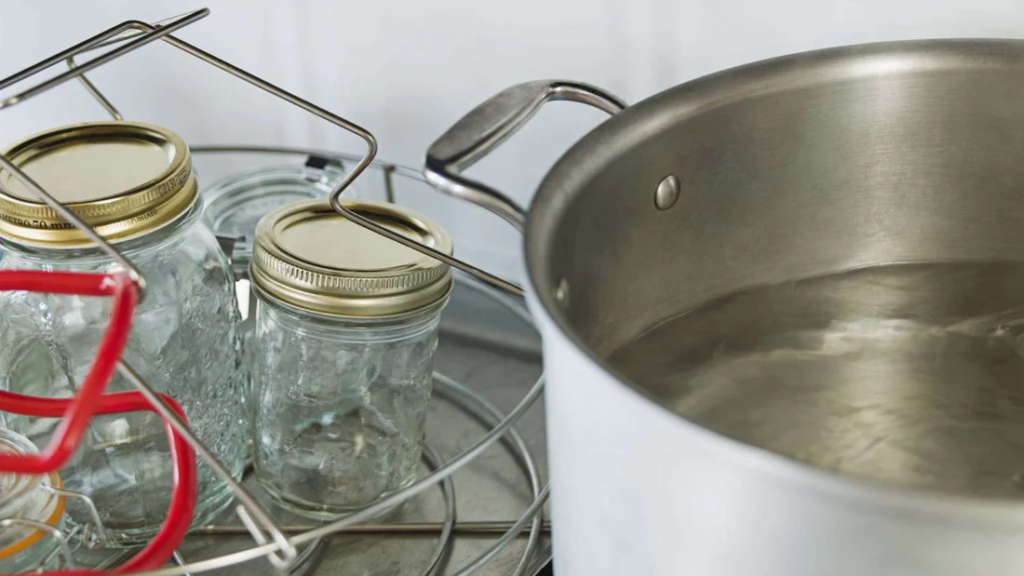
- Submerge the jars in water, bring to a boil, and simmer for 10 minutes.
- Place the jars on a baking sheet in an oven preheated to 300°F (160°C) for 10 minutes.
Keep the jars hot until you’re ready to use them to avoid cracking. Prepare the lids by soaking them in very hot (but not boiling) water. The jar bands don’t require any preparation.
Filling the Jars
Once the jars are sterilized, it’s time to fill them with your chosen recipe. As you fill each jar, make sure to remove any air bubbles by running a spatula between the food and the jar. If necessary, top up with more liquid (like vinegar) to ensure proper sealing.
Water-Bath Canning Process
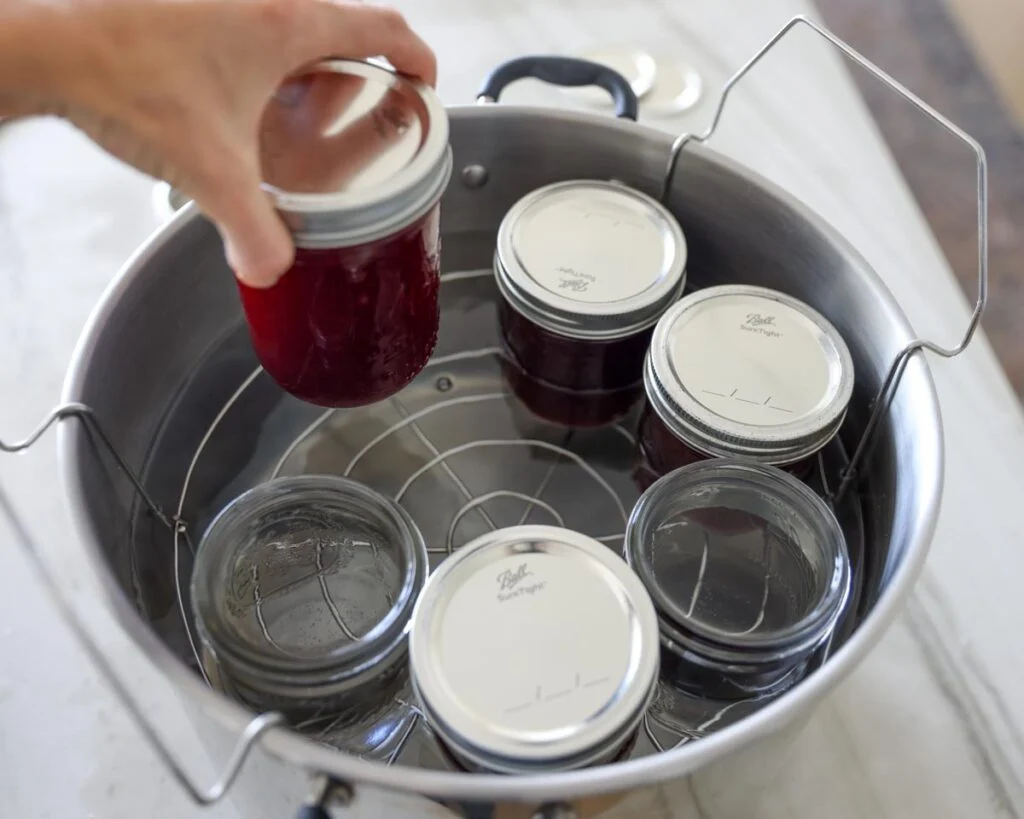
After filling the jars, wipe the rim clean of any food residue. Place the hot lid on each jar and screw on the band tightly, but not too firmly. Using a canning rack or folded dish towel, carefully lower the jars into the simmering water, ensuring they are about 1 inch (3 cm) below the surface. If needed, add more water to submerge the jars.
Turn up the heat to bring the water to a rolling boil and continue boiling for the amount of time specified in your recipe. Once the processing time is complete, turn off the heat and allow the jars to sit in the water for an additional 5 minutes before carefully removing them.
Cooling and Storing Your Canned Goods
After removing the jars from the water, place them on a dish towel to cool for 24 hours. As they cool, you may hear the lids “pop” as the vacuum seal forms. To check if the jars have sealed properly, remove the band and press down on the center of each lid. If it doesn’t spring back, the jar hasn’t sealed and should be refrigerated and consumed within two weeks.
Once sealed, store the jars in a cool, dry, and dark place, where they will last for at least a year.
Canning allows you to enjoy the flavors of summer all year long. As you gain confidence, you’ll find this preservation method rewarding and perfect for sharing homemade creations with friends and family.
Do you have a favorite crop for canning? Let us know your go-to recipes!
